Paint is a necessary evil when it comes to home improvement. It’s time-consuming, messy, and can be expensive if you don’t know what you’re doing. Painting behind the toilet may seem like one of those projects that are best left for professionals…until now. This blog post will show how to paint behind a toilet in six simple steps so that you can get professional results without the high price tag!
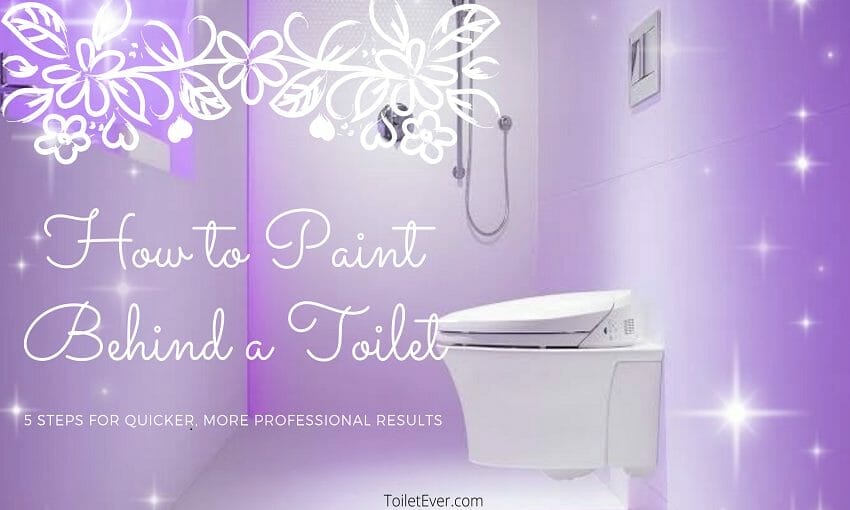
6 Quick & Professional Paint Behind A Toilet
If you follow these 6 steps, you can easily paint your toilet. So, let’s go we follow these steps:
Step # 01: Clean the area with a degreaser and dry it off with a rag or paper towel.
Step # 02: Cover the porcelain with painter’s tape and old newspapers. This will protect your toilet from any stray paint drops that you may have while painting.
Step # 03: Use an electric sander to sand off any rough surface flaws on your toilet.
Step # 04: Apply primer to all surfaces of your suffering, including those covered in painter’s tape. Let this sit for 15 minutes before applying the first coat of paint.
Step # 05: After letting it dry overnight, remove the newspaper and then carefully peel off painter’s tape at edges to reveal soapy-smooth walls behind! Now clean up after yourself by disposing of both the newspaper and unused painted surface areas (such as the top of your toilet seat).
Step # 06: Apply a second coat of paint if desired. After drying, remove painter’s tape and paper towels for professional results!
Note: Some people may prefer to use an electric sander instead of sandpaper because it is easier to control how much they are removing with each pass. This can be helpful when painting around small details like hinges or handles on furniture pieces that need to stay intact so as not to damage them with too heavy a touch. For this project, using sandpaper will work just fine since most areas are large and flat.
How to Paint Behind A Toilet?
Sometimes after the paint dries it is not quite as smooth or professional looking enough for some people’s standards, so they decide to apply another coat of paint. This may be necessary if you want your toilet area to look extra clean and shiny! After applying one light coat of primer, wait 24 hours before doing this final step because the surface will need time to dry first. Apply just like in steps 04-05 until the desired coverage level has been reached. Remember that with each additional application there should be less pressure applied during painting which will result in smoother surfaces when finished. If desired, consider using a slightly different color to make the paint job appear more professional.
FAQs
If you love to know more about painting a toilet, you should read these frequently asked questions, including answers. Let’s go!
Q: What is the best way to apply paint?
A: Painting a toilet can be done with brushes, rollers, or by using spray paints. For most people, painting a toilet will require applying one light coat of primer on top of any old finishes that have been applied previously for it to adhere correctly and provide even coverage. Depending on how many coats are needed and how smooth you want your finished surface to look determines how much pressure should be used when applying each layer during this process.
Q: What type of paint do I need if I’m going to use stencils?
A: If you plan to use stencils while painting then make sure the paint has both good adhesion properties as well as durability so that it will not be affected by any of the stenciling processes.
Q: What is a good paint thinner?
A: A good paint thinner to use when priming and painting an old toilet or prep for a new coat can be found at your local hardware store. Make sure you are using one that has been made specifically to clean up oil-based paints, chemicals, stains, and other substances from surfaces such as concrete, metal, or porcelain fixtures without damaging them in the process. This type of cleaner should also extend how long it takes before another round is needed so that you do not have to purchase additional cans too soon if you plan on doing multiple coats during this project.
Q: What color primer should I use?
A: If you want to use primer color, then you should use white. White primer is a good choice for any surface and will help with how the color of your new paint job eventually turns out. You can also mix colors to find something that works well with what you are painting over as this helps to cover up previous markings on it, which may have been left behind by tape or other materials used during installation.
Q: How much thinner do I need to prime my old toilet?
A: You will need to use at least one quart of thinner per gallon of primer. This is necessary so that the paint isn’t too thick and hard for you to work with. If it’s not mixed well enough, then this could lead to drips or other types of messes on your surface when you are painting over it.
Q: What kind of paint should I use?
A: You should use oil-based paint. This is the best option for painting over porcelain because it will adhere better to it than other types of paints and sealants, which means that your new color will continue to look nice for a long time afterward.
Q: How do I know how much paint I need?
A: If you don’t know how much
Conclusion
In this blog post, we’ve covered the basics of how to paint a toilet. We hope you found it helpful and informative! If there are any other questions or topics you would like us to cover related to painting your bathroom, please let us know in the comments below.