
Installing a toilet flange is an easy DIY project that can be completed in 30 minutes or less. All you need are some basic tools, the right measurements for your installation, and of course, the instructions provided here.
Gather Your Tools
- A leak detector (optional)
- Plumbers tape
- The right size wrench or socket set
- Level to make sure your toilet is straight on both sides and plumb from front to back
- A new toilet Flange
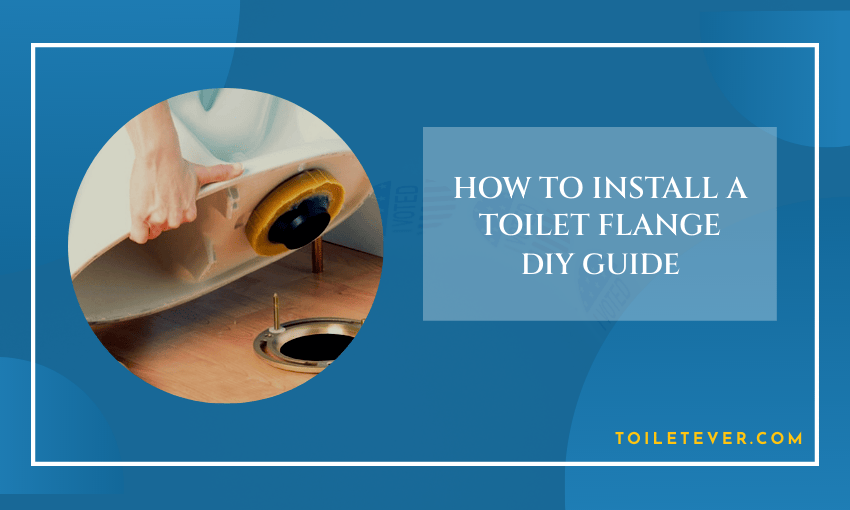
- A toilet wax seal
- A new Toilet gasket
Installation instructions for the Flange
Make sure your flange is clean and dry before installation. If it’s dirty, wipe with a wet cloth to get any excess dirt off of it. Then follow these steps:
Step One
Measure the width of your toilet bowl. Make sure you measure to the outer edge, and then take that measurement and subtract one inch. This is how wide your flange should be. Write this number down as well as a list of any tools you will need for installation (see below).
Step Two
Once all measurements are completed, it’s time to move on to installing! Grab a level (or use something similar like a water jug) so that the base sits flat on the ground; if not, there may be issues with stability in future uses which can lead to leaks or more serious damage. Next screw in each bolt from side to side until they’re firm but loose enough where you won’t break them base while tightening.
Step Three
Now that the base is secured, it’s time to add the toilet seat! Before installation though be sure to wash off any dust or debris from your new hardware and make sure all parts are screwed on tightly before attaching them. Finally, take a damp cloth with water mixed in soap (or other cleaning substance) and wipe down the entire surface of the toilet for easier cleanup later on when you’re done using it.
Step Four
And now for how to install a toilet flange: put an old bucket underneath where you will be drilling into your floor so as not to chip away at hardwood floors if they exist beneath your tile or carpeting; even better yet is placing this bucket inside a larger bucket to catch any spills.
Step Five
Drill a hole into the floor with your drill and then insert the toilet flange through this hole so that it is flush against the hardwood or tile beneath. This will be done differently depending on how deep you drilled your initial hole: if you hit wood, screw in one of these plastic anchor pieces about an inch from either side of where the bolt hits; if there are no irregularities between where you’re drilling and what’s below–or worse yet, nothing at all (which could spell disaster). You’ll need to use something called a concrete nailer instead. You might also have been given instructions for using metal anchors as well but they can only attach themselves when used on top of a concrete surface.
Step Six
Once the flange has been screwed into place, you can attach your toilet to it by either using slip nuts and bolts or sealant (or both). Make sure that the base of the bolt is sitting in one of those two little cups so there’s enough room for any excess water to swill out–you don’t want any bad odors coming up from below! Sealant should also be applied around each side of the flange; make sure this gets done before you install your toilet onto its new home on top as well. You’ll need about three tubes worth if you’re going with just one tube. But more might be needed based on how large your bathroom flooring is. It’s not a bad idea to just buy six. But don’t forget your budget.
Conclusion
This article is a complete DIY guide to installing the toilet flange. With this information and some basic tools, you can install your toilet flange with minimal effort. Keep reading our blog for more information regarding toilets and other plumbing-related topics.